7 ways to take pictures for Instagram
Create stunning photos in seven different ways.

Whether you have an iPhone, a Samsung, a Huawei or a super Reflex, here are some tips to capture beautiful photos for Instagram without being a professional photographer.
1. The portrait function
For selfies, animals or objects, there is nothing better than the blurred effect all around. If this function does not appear on your smartphone, or if you do not have a lens capable of doing so, there is a plan B: in the Instagram story click on “Portrait” and the famous blur (bokeh effect) will appear.
Moreover, close-up photos are often pretty, whether it is flowers, a vase, a breakfast bowl, a fruit or a watch or a necklace…

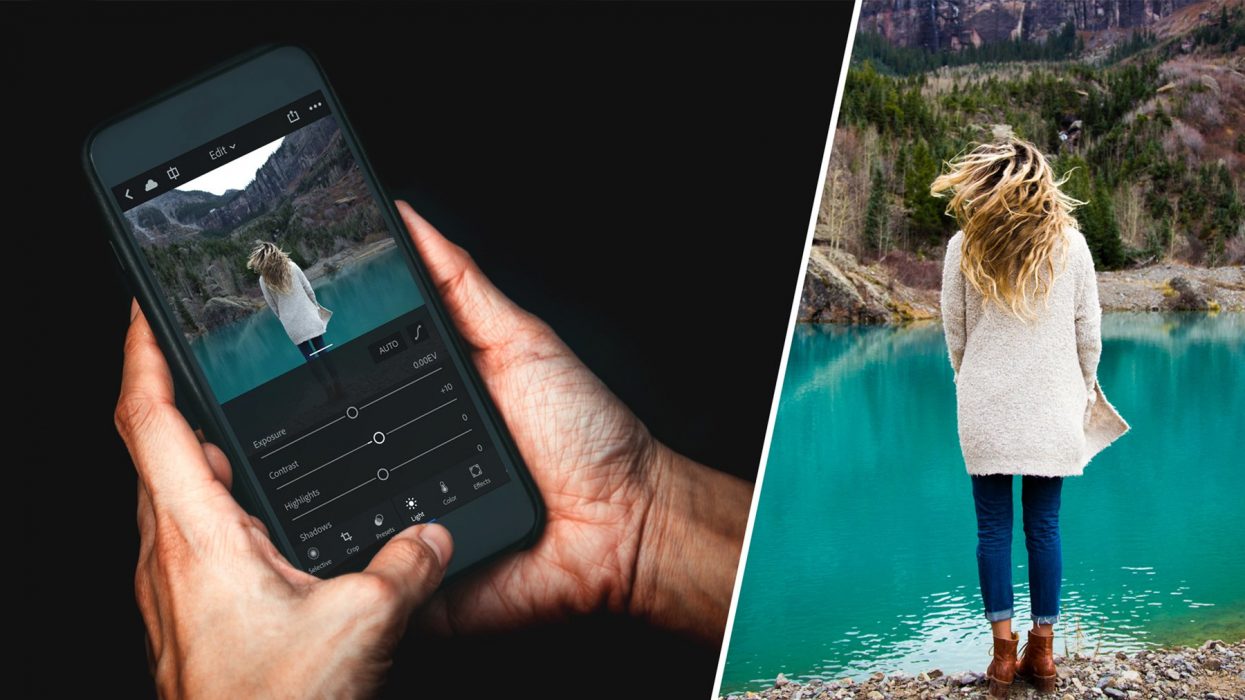
2. Create your own filters
Lightroom app allows you to create your own “presets”: photo filters, which allows you to harmonize all your photos. You can create yours on iOS with the Adobe subscription for less than 10£ per month which also gives access to Photoshop. Touch the colors, vibrance etc. and click on “save preset”. Test your preset on a dark and a lighter photo to see if the same key is found, which is the final objective. Your Instagram feed will thus become consistent and differentiating. This is THE essential point today.
Darkroom is also an app that allows you to create your own filters but for free. however, capacity is more limited.
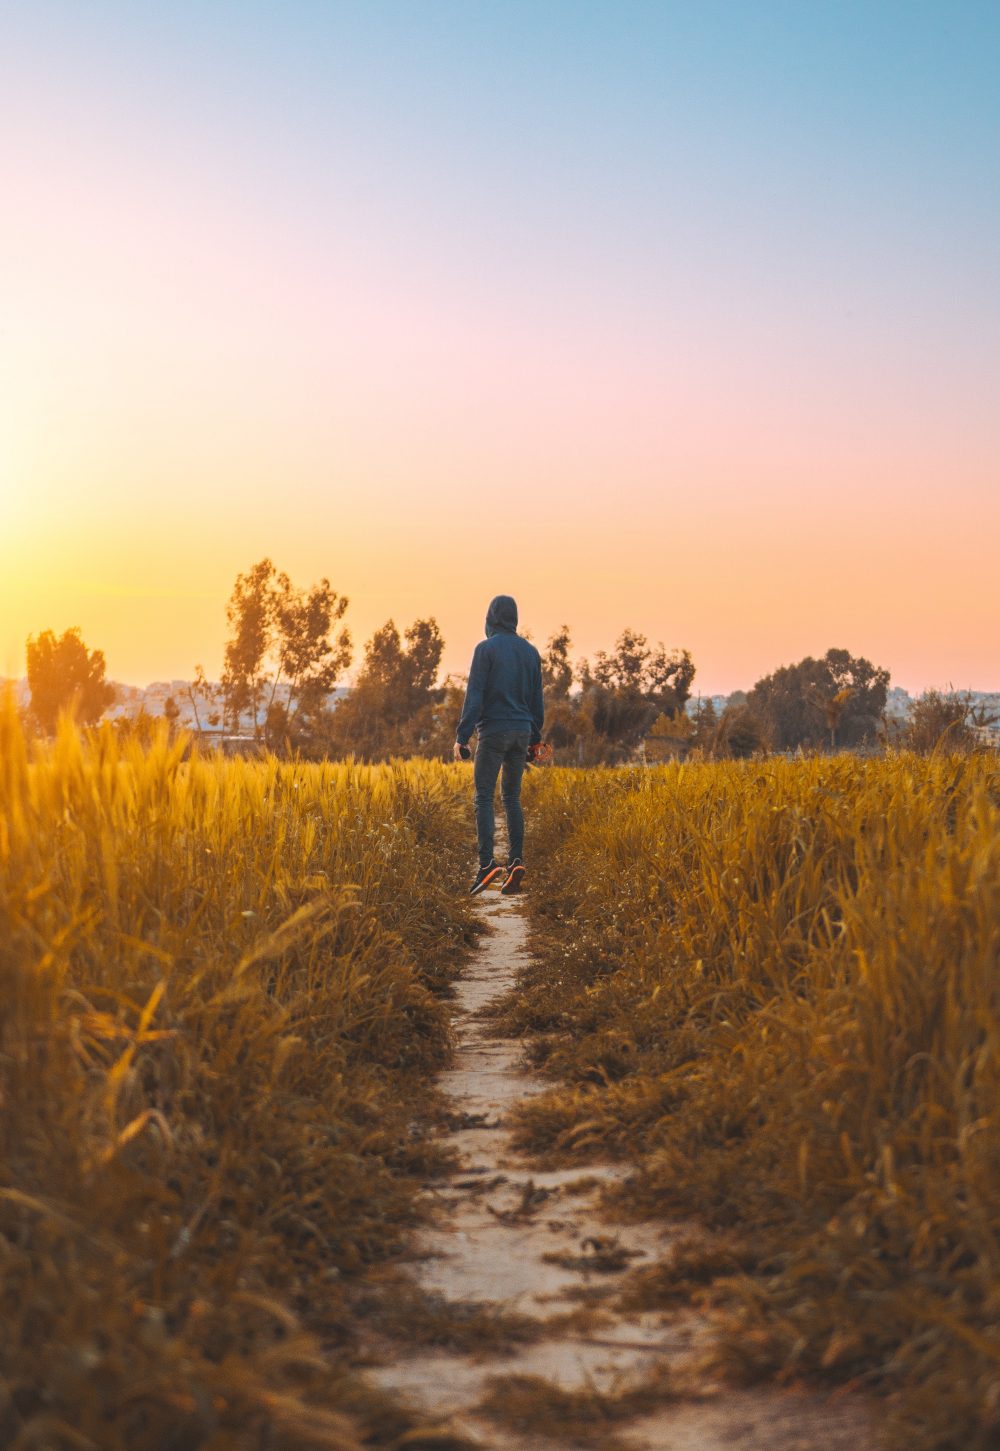
3. Capturing the right time
Posing is one thing. But nothing better than stolen moments… This reality will please more than overly thought-out scenes. Trust your emotions and what surrounds you, the goal is to share them.
Capturing the right time also stand for the light and weather, for exemple the « Golden hour » (the moment just before sunset) is known for its great shining picture.
4. The classics
Food, old streets, drinks, sunsets, paths, pools, sea, sky, selfies… If you don’t have the inspiration, there are always these options! Make sure that the bokeh effect is present or for landscapes that the lines are straight and the composition neat (cut in 3 horizontal and vertical lines your look before capturing and check that nothing is empty or that the point to be highlighted is either in full or in the middle, or in one of the 4 ends).
5. Create new pictures on mobile
It is now possible to detour on the Adobe Photoshop Mix app and it’s quite well done! A lot of fun for photomontages for Facebook more than for Instagram where the real photo is more successful.
6. Take care of the composition and framing
To be aesthetic, your photo must have a harmonious colorimetry. Therefore you can gather several objects and accessories that are in the same colour range.
For a landscape, consider including a foreground element to give depth to the image and we use the third party rule to energize it. Do we want to shoot a dish? Be careful not to zoom in too much!
Composition also goes through the backgrounds, and especially for the photo backgrounds on Instagram, you can use a white wall, sheets of paper but also clothes, a white sheet, a white carpet… Everything is good to take! Really, you don’t need a studio to make pretty things. Take what you have at hand and put it where the natural light enters the house most.
Choose your angle, depending on what you are going to shoot, choosing the right angle is essential as to the message you want to convey to your followers. In doubt: always take several photos from different angles to avoid regret. You will sort and choose the right photo to share later.
7. Set your smartphone’s camera
The HDR mode (which can be activated or not on iPhone) allows you to take an image with different exposures. It does not always work well depending on the object you are taking pictures of (for example, it can look great on landscape or outdoor photos, but much less so for close-up photos such as beauty products or food). Anyway, you can always activate it, and then choose the photo you like best.
The camera focus
Many people don’t think about it and end up with blurry pictures. Tap the screen to get the focus depending on the result of the photo. You can also “tap” at different places in the photo to change the exposure, and have the brightness you prefer. It takes a little practice, because clicking in the wrong place will lead to an overexposed photo and blurred details, but doing it right will allow you to have sharper photos, with good exposure. This will make retouching easier afterwards.
Stop zooming in
The camera on our smartphones is a fixed focal length. That’s mean that when you zoom in, the picture loses quality. It’s like you cut the picture off and it’s magnified.
Do not use filter when shooting and if your photo really needs a filter, decide to put it on after you take the picture.
Never use the flash
If you take a picture of a friend with the sun on his back, so that you can see his face, you will have to adjust the brightness on his face and not on the background, which will then be burned.
Display the composition grid
And apply the third party rule. On this grid, lines divide the photo into thirds on the width and height. The intersections of these lines are the strong points. Set the horizon on one of the lines and a character or element of the photo on these strong points. This is the academic way to compose a photo.
If you are interested in Instagram Stories, check our article: Four ways Instagram Story Highlights can benefit your brand
For more advice on Instagram and other Social Media for your business, take a look at our services and discover how we can help your company to increase its potential.
More insights from the team


